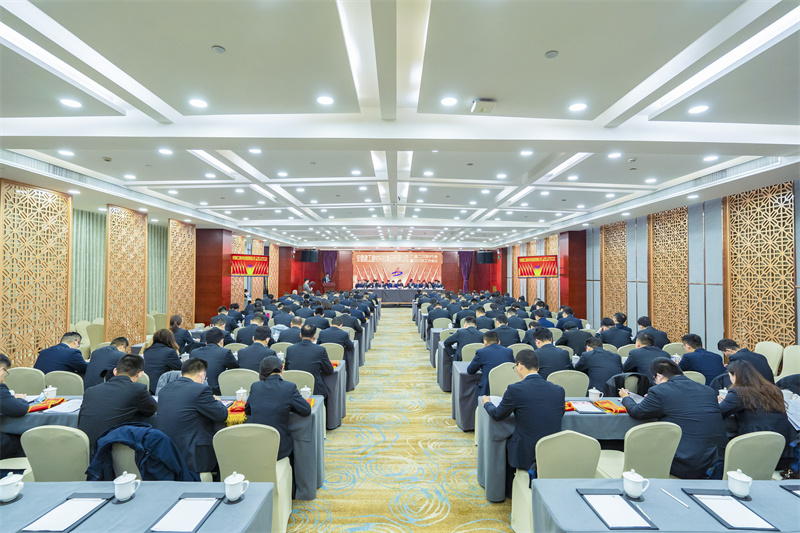
注重规范 追求绩效
建材科技二届二次职代会
诚信为本 敬业至上
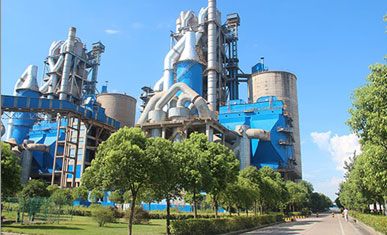
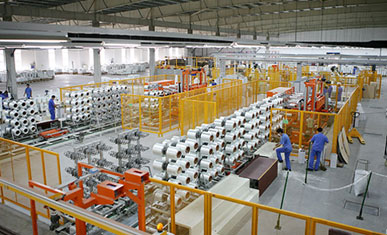
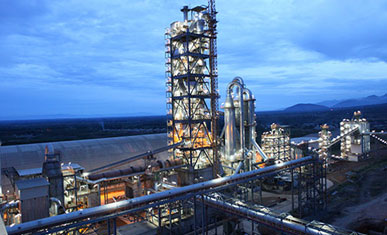
安徽建工建材科技集团有限公司成立于2015年5月25日,隶属于中国企业500强安徽建工集团,是集商品混凝土、干粉砂浆等相关产品的生产销售;钢材、水泥、沥青、矿粉等主材的贸易、仓储和物流;周转材料租赁业务为一体的综合性建材企业。
建材科技诚邀社会各界新老朋友前来洽谈业务,携手共进,合作共赢,创造更加美好的明天!